
Crawl space to basement conversion can add living area and fix foundation problems. The team assesses soil, footing, and water before work begins. The homeowner learns costs, timelines, and permit needs up front. This article shows benefits, inspection steps, and a simple preconversion checklist for a safe, code-compliant project.
Key Takeaways
- Converting a crawl space to a basement increases living area, improves foundation strength, and adds home value.
- A professional assessment and soil inspection are essential to determine feasibility and cost before starting the conversion.
- Proper planning involves securing permits, budgeting for contingencies, and scheduling work to avoid seasonal groundwater challenges.
- A detailed contract should outline scope, materials, timeline, payments, and warranty to ensure transparency and project success.
- Installing egress windows, drainage systems, and ventilation meets code requirements and enhances safety and comfort.
- Homeowners must verify contractor credentials, protect landscaping, and plan for insulation and radon mitigation for a compliant conversion.
Why Convert A Crawl Space To A Basement? Benefits, Costs, And When It Makes Sense
Crawl space to basement conversion offers more usable area and stronger foundation performance. Homeowners gain full-height rooms, better storage, and increased home value. A converted basement can house a bedroom, office, or rental unit. The conversion also lets contractors fix low vents, replace failing piers, and install effective waterproofing.
Costs vary by site. The crew digs down, shores walls, and pours footings. The project often requires new beams, a sump pump, and drainage. Typical costs depend on soil type, depth needed, and access. Homeowners should expect higher costs when the house sits on ledge, clay, or near high groundwater. They should also budget for finishes like insulation, flooring, and egress windows.
The conversion makes sense when the crawl space has at least 18 inches of dirt under joists and the foundation walls are stable. It also makes sense when the owner wants conditioned space or sees repeated moisture and mold. It may not make sense when utility lines run low or when excavation risks major landscaping damage. In those cases, encapsulation and dehumidification can improve the crawl space at much lower cost.
A professional assessment can show whether the crawl space to basement conversion will pay back in value. Real estate agents often report higher resale value for homes with full basements. Lenders and appraisers consider the added square footage when the space meets habitability codes. Homeowners should get two or three estimates and check references for projects that change the foundation.
Planning, Permits, And Budget: What To Inspect Before You Start
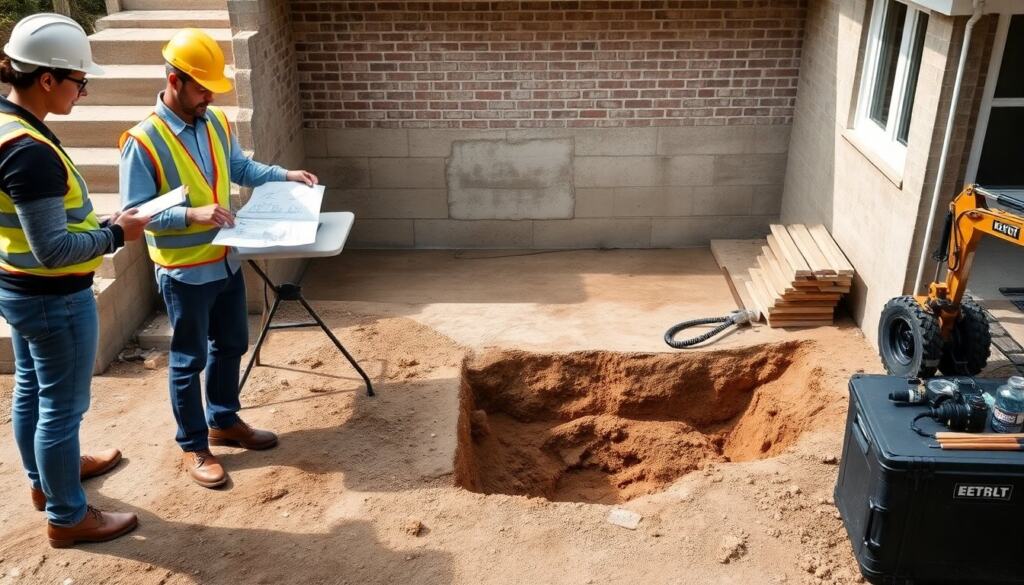
The homeowner should plan costs, schedule, and required permits before excavation. The contractor inspects soil type, existing footings, and foundation material. The inspector checks for rot, insect damage, and signs of past settlement. The team measures headroom and confirms egress options for bedrooms or living spaces.
Permits vary by city. The building department reviews structural plans, drainage plans, and electrical and plumbing additions. The homeowner should allow time for plan approval and budget for inspection fees. The contractor should submit drawings that show footing details, wall reinforcement, and waterproofing methods. The permit process reduces risk and ensures the finished space meets safety codes.
The budget should include contingencies. The crew often finds unexpected conditions like buried debris, hidden drains, or tree roots. The homeowner should set aside at least 10 to 20 percent of the bid for unknowns. The budget should also cover temporary shoring, trucking soil away, and patching landscaping. A clear contract should list payment milestones tied to completed work stages.
Schedule matters. Seasonal groundwater levels affect excavation safety. The contractor may recommend work in dry months to reduce dewatering needs. The team plans for temporary power, access for heavy equipment, and staging space for materials. The homeowner should arrange for pets and family safety during noisy excavation and concrete work.
Insurance checks help protect the homeowner. The contractor should carry general liability and workers’ compensation. The homeowner should notify the policy carrier about major foundation work. Lenders may require inspections and proof of permits before releasing funds on a renovation loan.
Preconversion Checklist: Structural, Drainage, And Contractor Prep Steps
Hire a structural engineer for a clear plan. The engineer draws footing details and recommends beam sizes. The homeowner keeps those drawings with permit documents.
Confirm soil reports. The contractor orders a soil test when the site shows variable fill or known clay. The soil report guides footing depth and wall reinforcement.
Locate utilities. The crew marks water, sewer, gas, and electrical lines. The homeowner calls utility locating services before digging. The crew plans reroutes when utilities sit in the excavation path.
Plan drainage. The team installs perimeter drains, a sump pump, and a daylight or mechanical discharge. The crew ties new drains to an existing storm line or to an approved discharge point. The homeowner plans a battery backup for the sump in flood-prone areas.
Prepare for shoring. The contractor designs temporary supports for floors and walls. The crew installs shoring before any major excavation. The homeowner confirms that the contract covers shoring costs.
Arrange egress and light. Code requires egress windows for bedrooms. The team plans window wells or stair access. The homeowner decides on window locations and finishes at the planning stage.
Set a clear contract. The contract lists scope, materials, timeline, payment schedule, and warranty. It includes permit handling and a process for change orders.
Verify contractor credentials. The homeowner checks licenses, insurance, and recent project photos. The homeowner calls references and visits a current job site when possible.
Protect landscaping. The crew stages equipment to limit damage. The homeowner photographs the yard and notes plants to save. The contract mentions site restoration standards.
Plan for ventilation and insulation. The team specifies insulation for walls and floors and a ventilation strategy for conditioned space. The homeowner reviews options for radon mitigation, if testing shows elevated levels.
Finalize schedule and payment. The homeowner confirms start and completion dates. The contract ties final payment to a signed final inspection and permit closeout.